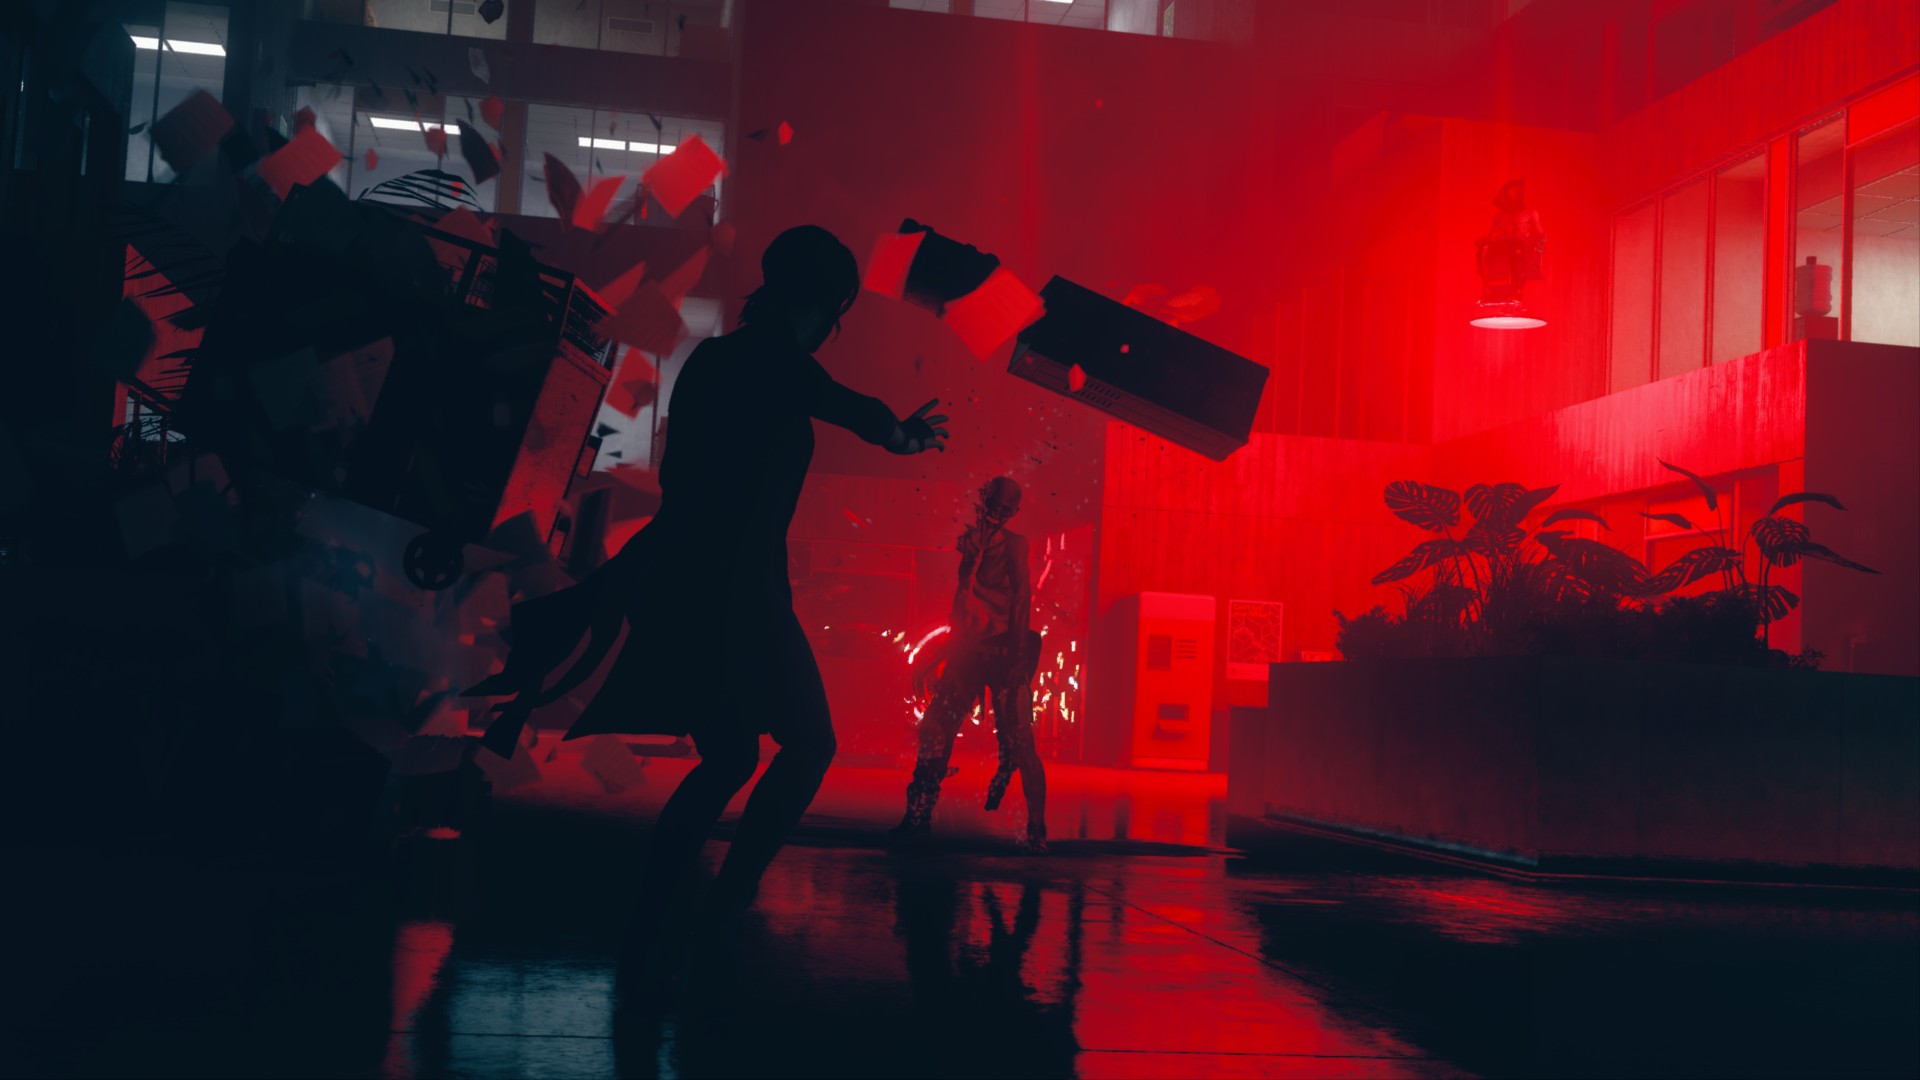
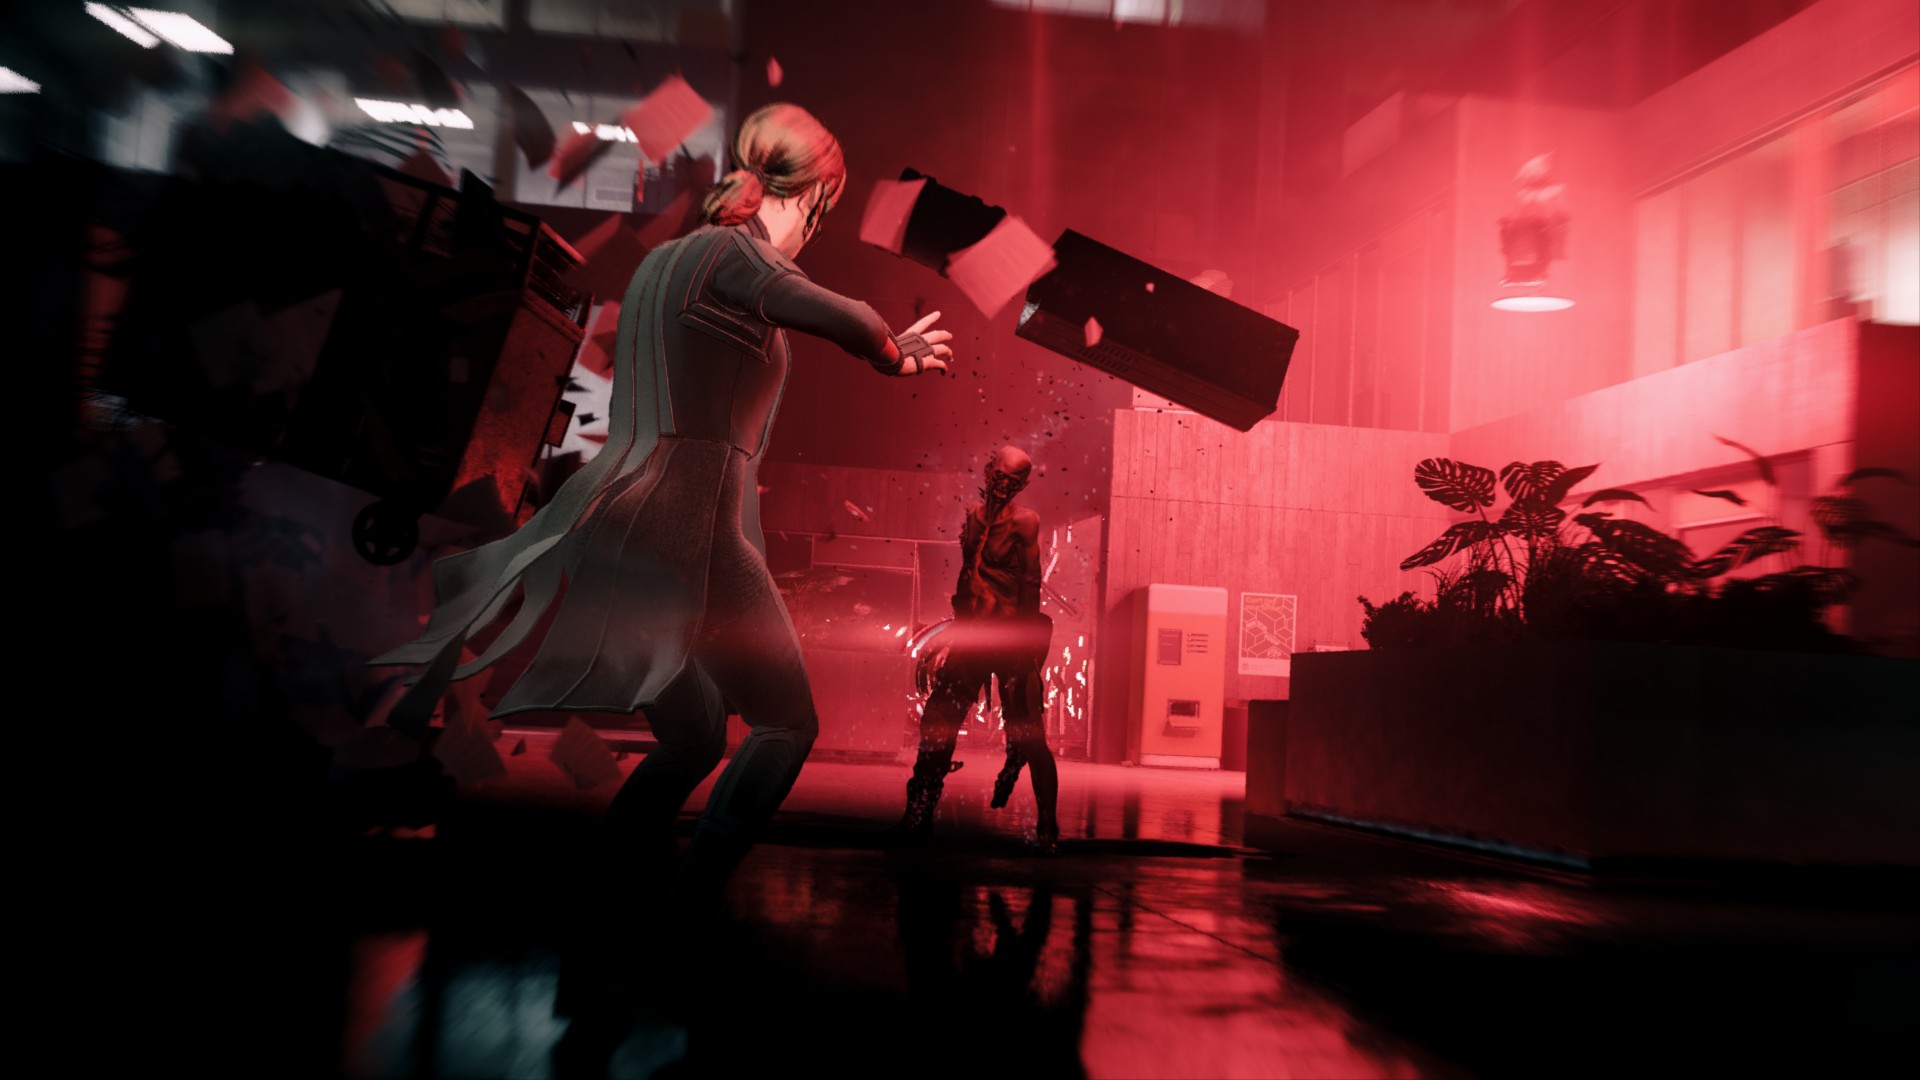
A corruptive presence has invaded the Federal Bureau of Control…Only you have the power to stop it. The world is now your weapon in an epic fight to annihilate an ominous enemy through deep and unpredictable environments. Containment has failed, humanity is at stake. Will you regain control?
The game has got an update that breaks parts of the mods. You can revert the a previous version to make it work again
download_depot 870780 870781 8430668485897533117 for Control Ultimate Edition
Required
Optional (but really recommended, trust me!)
- Tweakables by Reg2K
- Dev Menu by Reg2K
- ReShade
Installation
First of all, unzip the Loose File Loader in your game directory, just where control.exe resides. Once done, unzip the Tweakables files and place it in data\globaldb\.
I recommend reading the description on Nexus as it has a lot of useful information. The one you absolutely want is the Photo Mode range unlocker.
Again, read the description on Nexus for the full installation procedure. As you have just installed the Tweakables files, you would go for scenario 2 here.
Finally extract DevMenu.dll and DevMenu.ini in the plugins directory. If it doesn’t exist, create it and put these 2 files in it.
Dev Menu Options
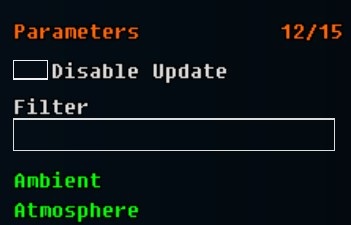
Dev Menu Controls
| Key | Effect |
|---|---|
| F11 | Open/Close Dev Menu |
| Page Up | Next Menu |
| Page Down | Previous Menu |
| Mouse Right Click | Edit Option Value |
Ambiance System
This section allows you to change the actual LUT (Look-Up-Table), or basically color grading, of the actual scene. There are many different ones that could serve you as a start for your shot.
Tweakables - Character Lighting
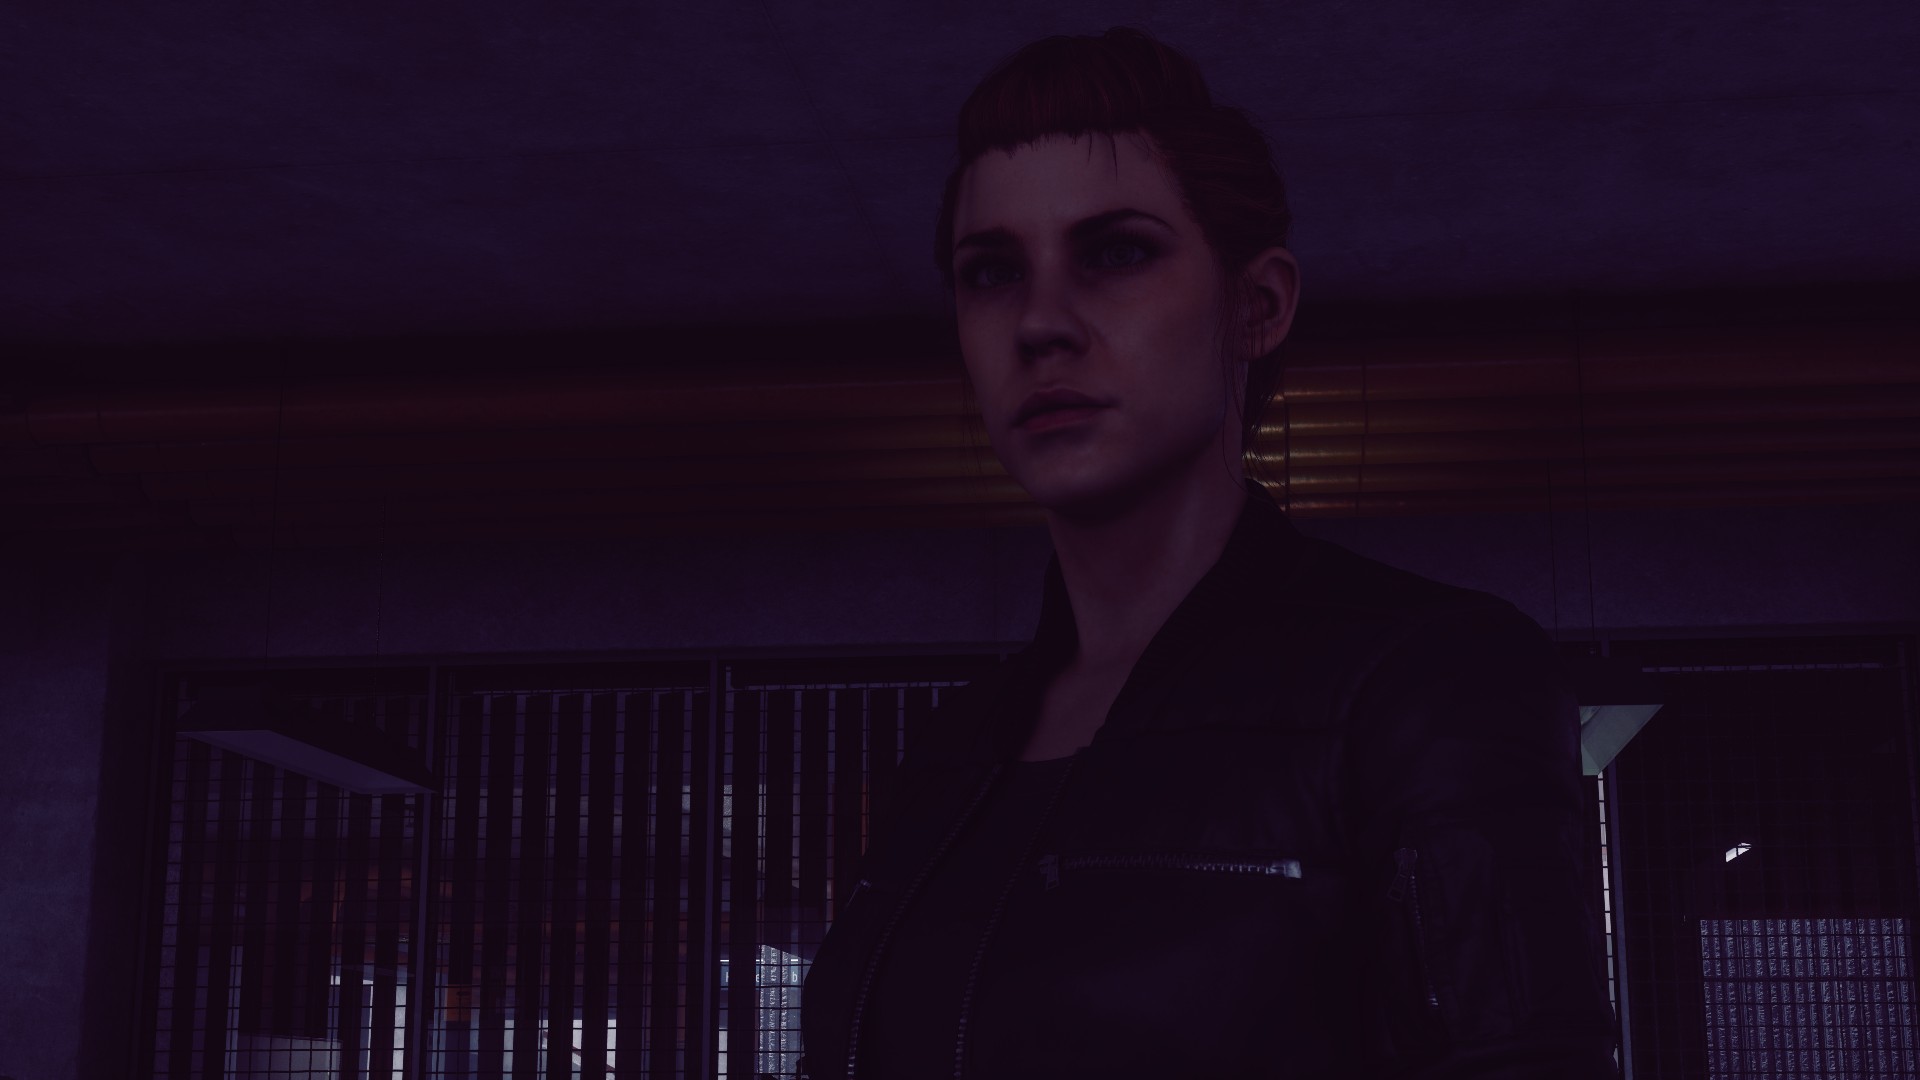
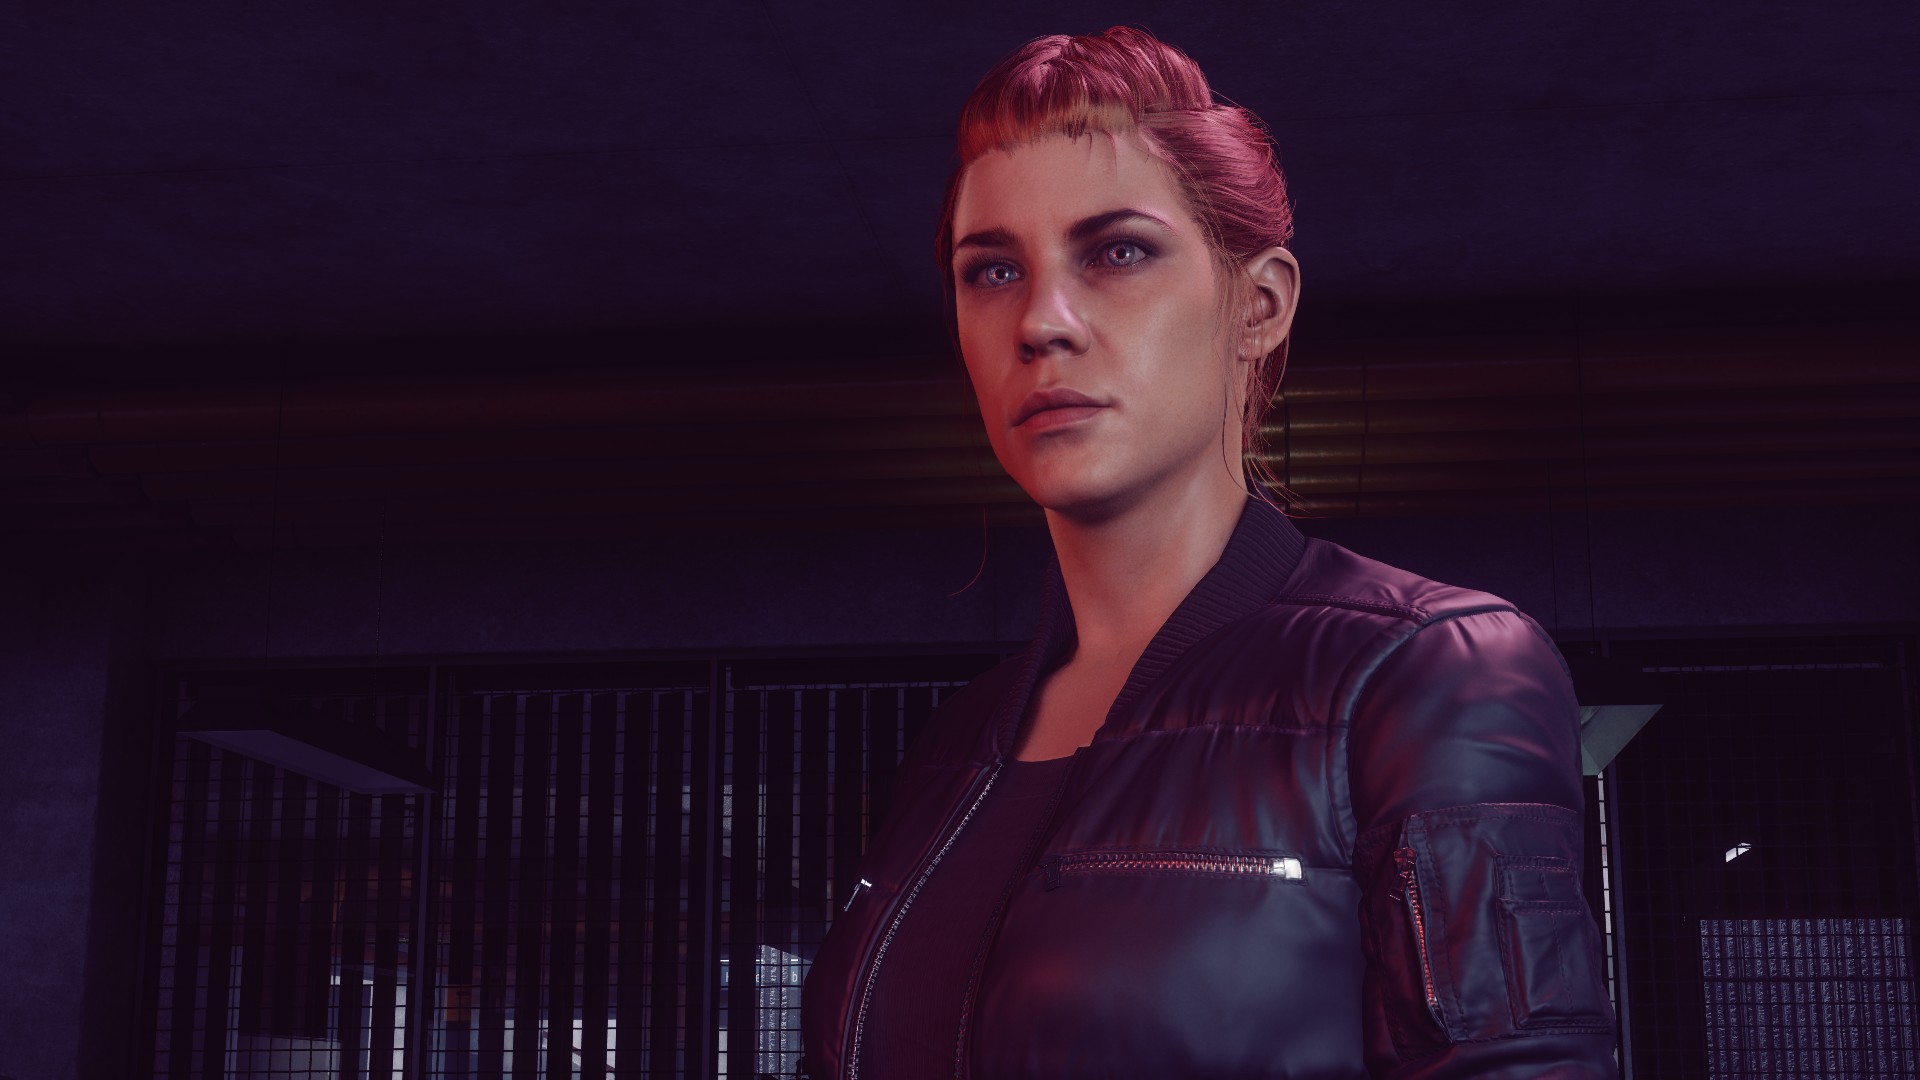
A great thing in the dev menu is that it allows you to use the “Character Lights”. There are 3 spots named CharacterLight0, 1and 2 available and ready for use. To do this, first enter the photo mode and position the camera as you wish. Hide the HUD and open to the dev menu by pressing F11. Navigate to Tweakables menu and scroll down to CharacterLight0. Click on it and start raising the intensity a bit so you can see where your light is. Use the offsets to place your light. If you want some colours, just move the Color sliders; Color0, 1 and 2 are red, green and blue respectively.
Once done and your shot saved, click on Load Panel State to revert to default again.
Below a small example with 3 lights.
| Light Option | Description |
|---|---|
| Intensity | Self Explanitory |
| Ambien Light Scaling | N/A |
| Color 0 | Red |
| Color A | Green |
| Color 2 | Blue |
| Offset 0 | Move Light Back/Forth |
| Offset 1 | Move Light Up/Down |
| Offset 2 | Move Light Left/Right |
| Heading | Make Light Circle from 0 to 180° or -180° |
| Pitch | Pitch Light Up/Down |
| Clip Light | Allow Light To Be Clipper |
| Clip Near Plane | Makes The Light Start Further But Wider |
| Clip Far Plane | Makes The Light Ends Further |
Render Options
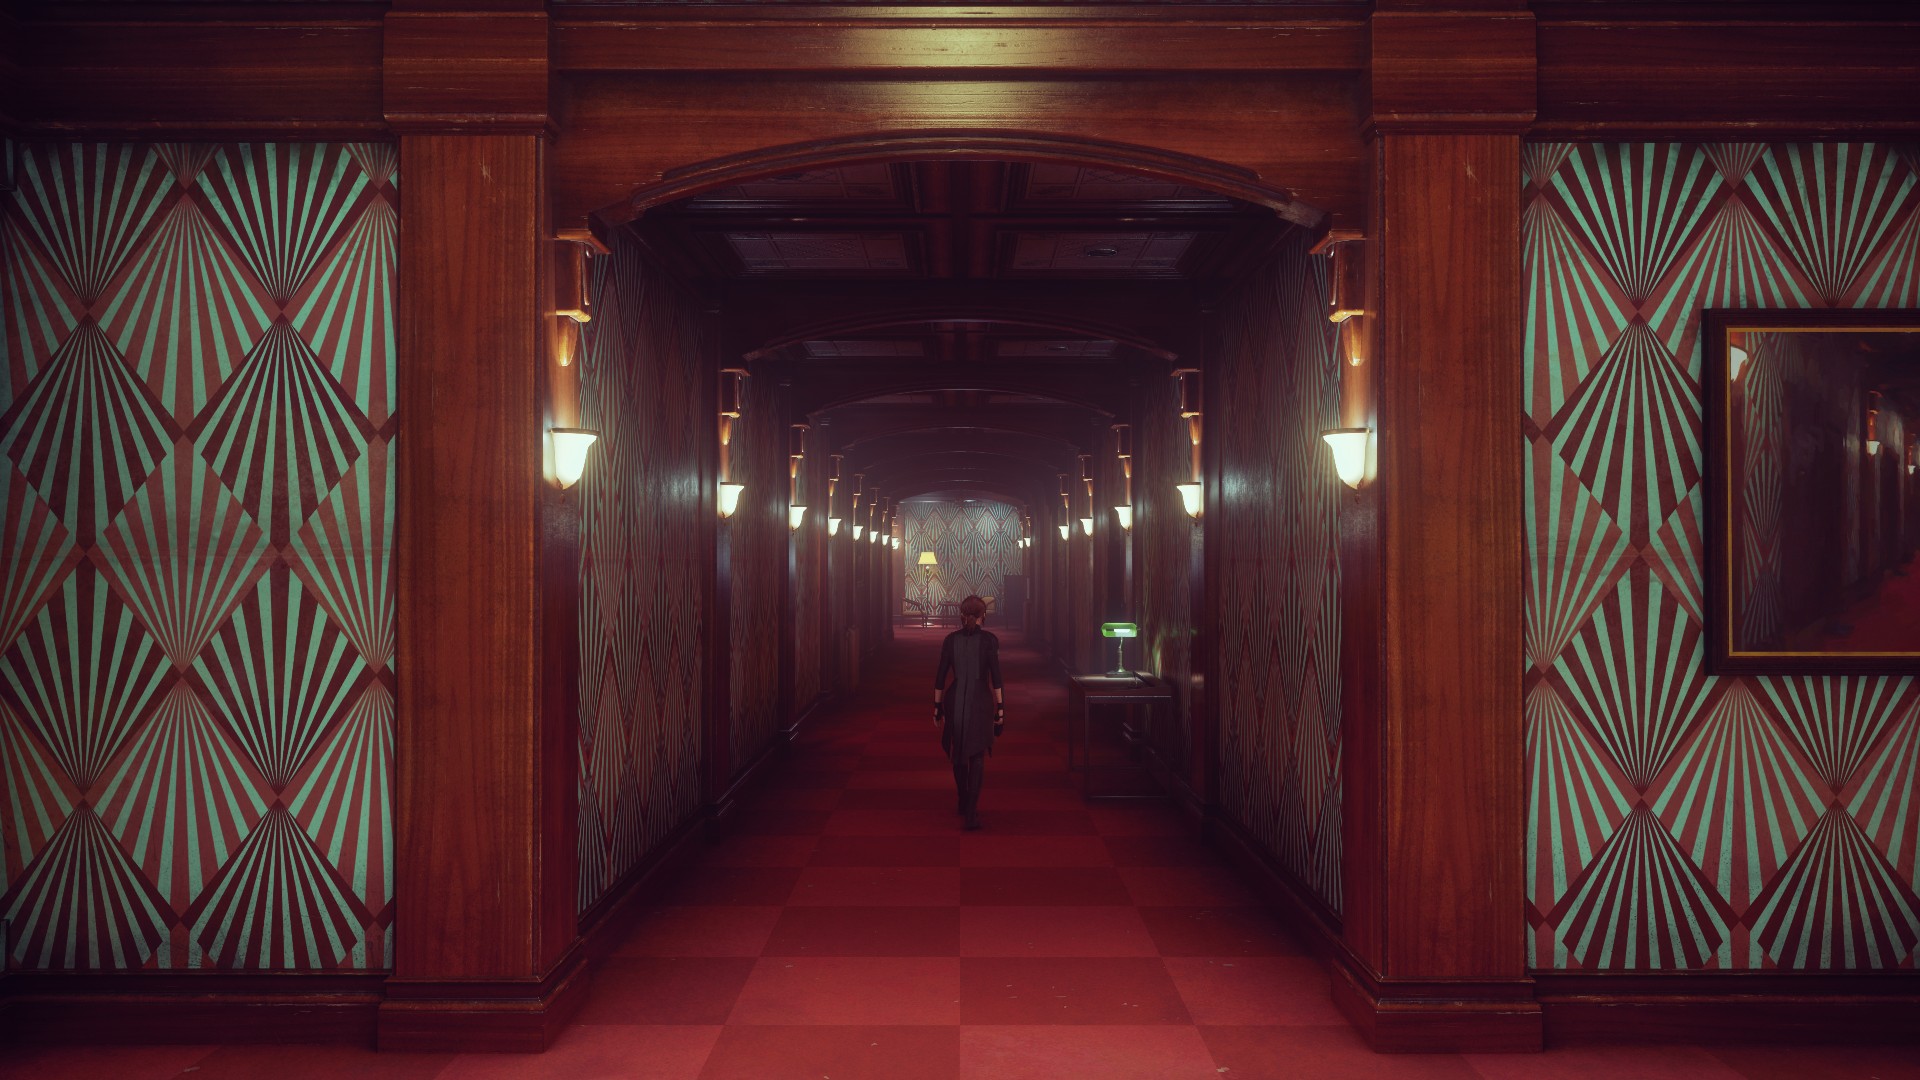
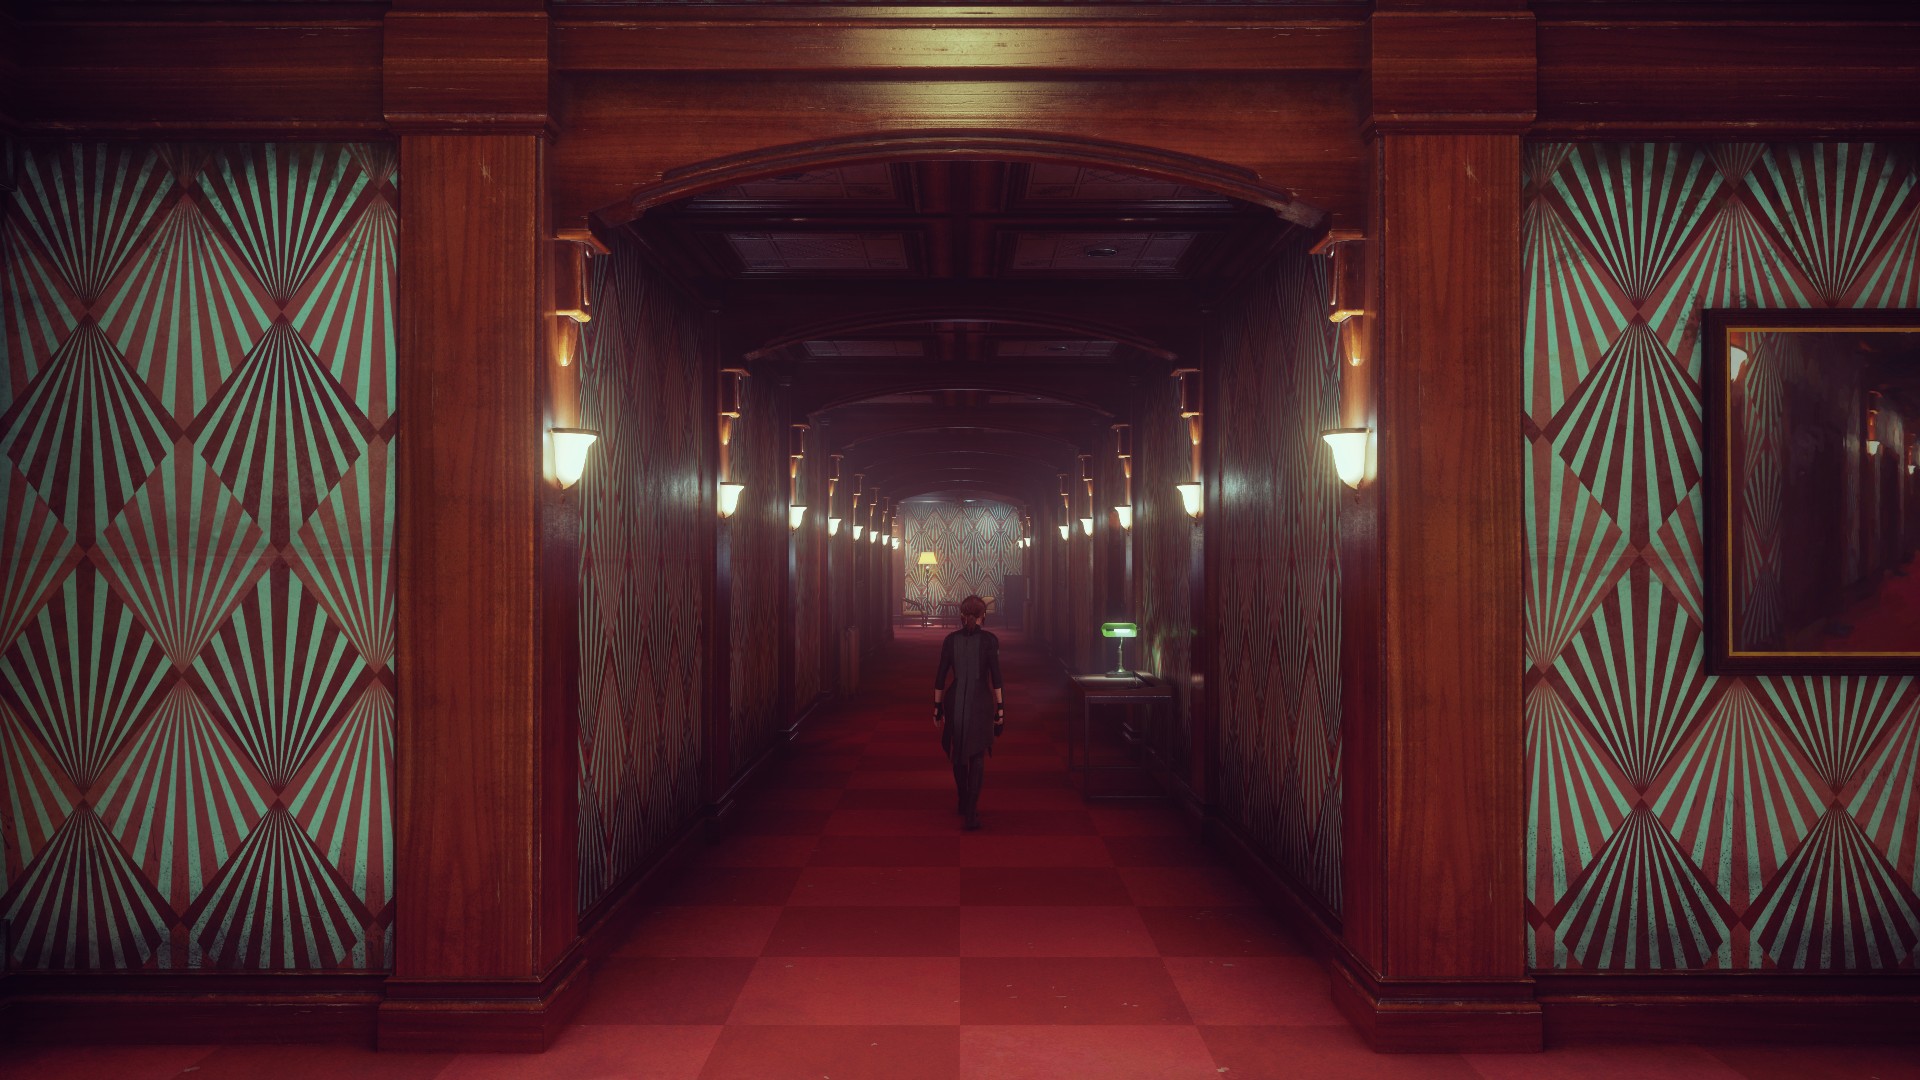
This section is one that requires a bit of trial and error as it is best to play with each checkbox to see what the options do. In general, there are 3 options that I like to activate. To know: Render SSDiffuse, Force Dynamic, and Cinematic Mode.
In certain places, activating these settings will give quite a different look to the scene, making it a bit more dramatic or mysterious.
Example with these 3 options checked.
Parameters
Again, this section is a playground, in fact, it’s YOUR playground! There are many options that can be tweaked for the sake of a great shot. To know: Ambient, Atmosphere, Bloom, Exposure, Global Illumination (GI), Post Process, and Tone Map. I won’t enumerate everything that is in this section and instead will let you discover it by yourself. It’s play and discovery time for you!
As an example though, here are some details about the before and after for the shot below.
- Parameters
- Bloom
- Blur Scale 0 lowered around 0.19
- Burn Intensity, Threshold and Scatter raised
- Exposure
- Fixed to around 76.5
- Post Process
- Highlights and Shadows Color Balance modified
- Levels Max and Min changed
- Radial Blur and Vignette modified
- Bloom
- Tweakables
- Character Lights 0 to 2 changed
- Ambiance System
- Forced a different LUT
