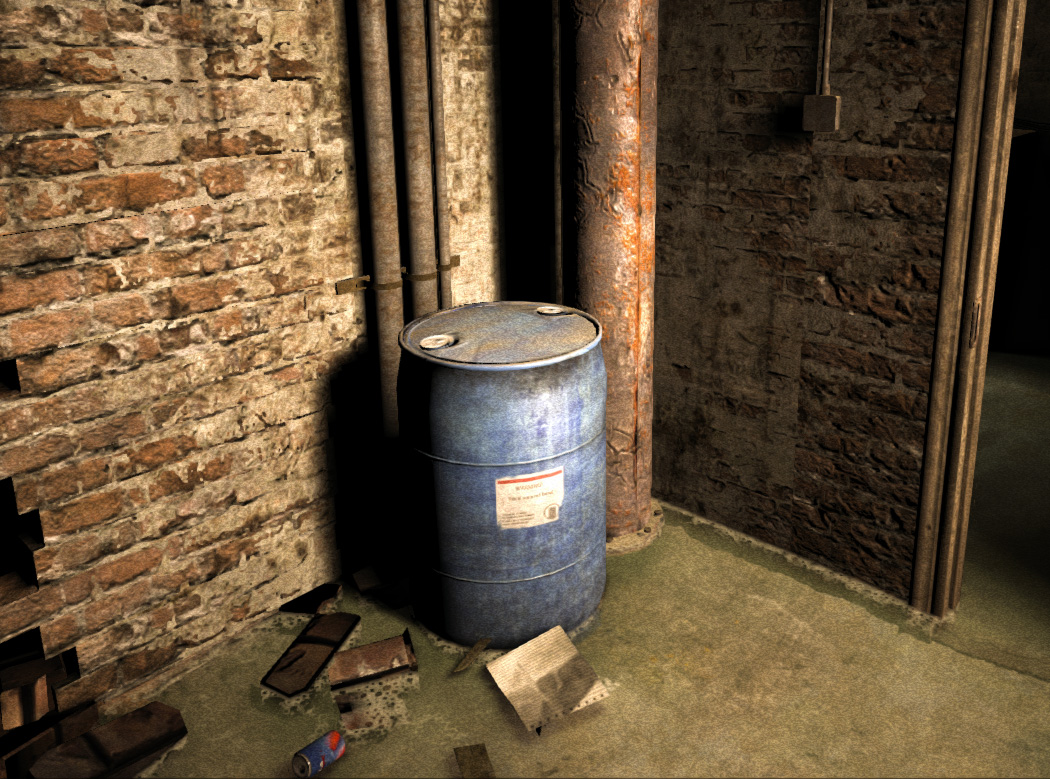
Hell is an experiment you can’t survive in Outlast, a first-person survival horror game developed by veterans of some of the biggest game franchises in history. As investigative journalist Miles Upshur, explore Mount Massive Asylum and try to survive long enough to discover its terrible secret… if you dare.
Required
- Outlast cheat table
- Cheat Engine 7.5 or higher
- Reshade 6.x
- Night Vision HUD Removal With or Without Depth of Field.
Optional
Installation
Install ReShade if not already done. If not, start the installer. Click OK for the warning and choose your game from the list. Click Next twice.
Install the effects you want or click Uncheck All and press Next. Now, check the ShaderToggler by Otis Inf. Click next and Finish the installation.
Copy the ShadderToggler.ini file here .\steamapps\common\Outlast\Binaries\Win64 and nowhere else.
Finally, install Cheat Engine if not present on your computer.
Configuration
Game Pause Configuration
In Documents\My Games\Outlast\OLGame\Config, open OLInput.ini and at the end of the file, just before [IniVersion], add this line
Bindings=(Name="F12",Command="PAUSE",Control=False,Shift=False,Alt=False).
Resolution at or Above 4K
In \Documents\My Games\Outlast\OLGame\Config, open OLEngine.ini and add or modify the lines below under [Engine.Engine]
bUseCustomResolution=true ; -- Uncomment this and set CustomResX and CustomResY below to use a non-standard resolution
CustomResX=3840
CustomResY=2160
This will allow you to set the game at higher than the max allowed of 1440p (at higher resolution).
Film Grain Removal or Modification
Multiple choices here: full removal via mod or via ini file.
Mod
From the link above, carefully read the description as you will need TFC Installer. So, download the mod AND TFC Installer.
Extract both files somewhere. Start TFC Installer, point to your Outlast installation and install the mod.
Once done, the film grain should be removed (normal mode and night vision).
Ini File
Again, in Documents\My Games\Outlast\OLGame\Config, open OLInput.ini and at the end of the file, just before [IniVersion], add these two lines
Bindings=(Name="F8",Command="Set OLUberPostProcessEffect GrainOpacity 0",Control=False,Shift=False,Alt=False,bIgnoreCtrl=False,bIgnoreShift=False,bIgnoreAlt=False)
Bindings=(Name="F8",Command="Set OLUberPostProcessEffect GrainOpacity 1",Control=True,Shift=False,Alt=False,bIgnoreCtrl=False,bIgnoreShift=False,bIgnoreAlt=False)
Save the file. In game, press F8 to disable the grain and CTRL+F8 to enable it back.
Controls
| Key | Description |
|---|---|
| Page Down | Enable camera structure |
| Insert | Detach and enable camera movements |
| F12 | Pause Game |
| Numpad /, * | Disable Night Vision HUD/ And DOF |
| F8, CTRL+F8 | Disable or enable grain |
| NUMPAD 8,5,4,6 | Forward, backward, left and right |
| NUMPAD 7,9 | Camera up and down |
| NUMPAD 1,3 | Camera roll |
| NUMPAD +,- | Zoom in, out |
| Arrow up, down | Pitch up and down |
| Arrow left, right | Yaw left and right |
| Left Control | Fast camera movements |
| Left ALT | Slow camera movements |
How To
Use The Cheat Table
Once you have installed Cheat Engine 7.5 or higher (if not already done), click twice on the cheat table file you downloaded. Check the Auto Attach to Game box. Cheat Engine will automatically connect to the game when detected.
Press Page Down to enable the camera structure.
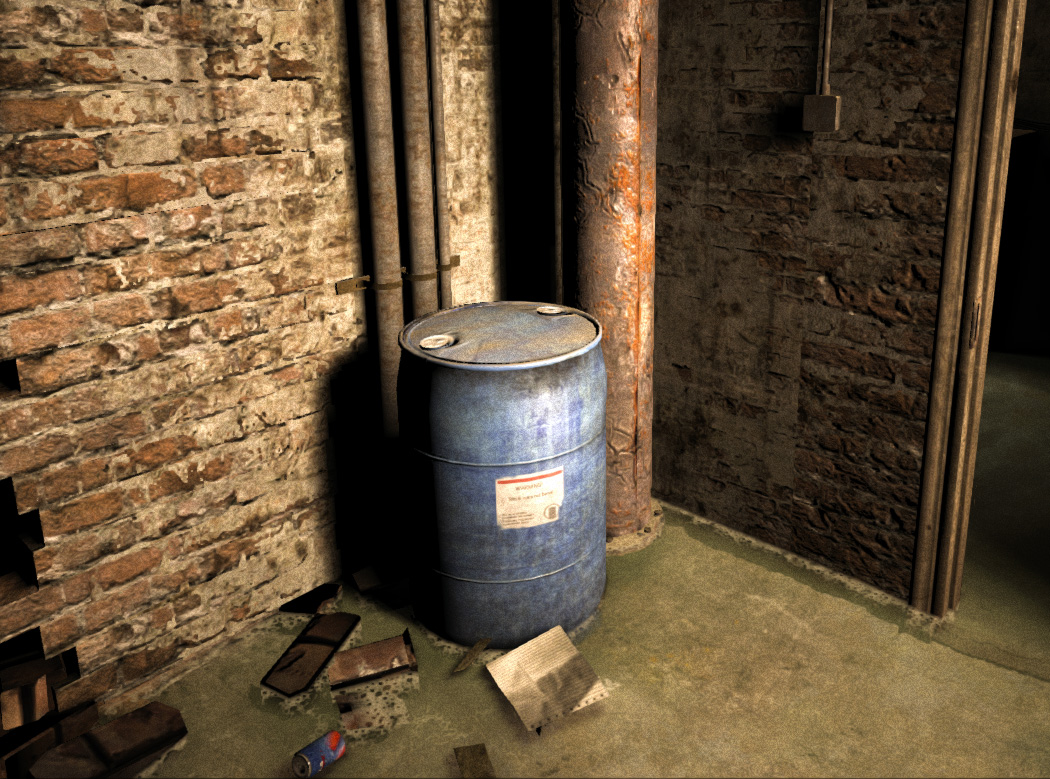
If you still want to use the grain for screenshot, you can tweak it in the cheat table. Here is an example with the default scale at 3 (left) and at 10 (right).


Take A Screenshot
This is in fact pretty simple. Press Page Down when you start your gaming session and leave it on. So, when you feel taking a shot, do the following:
- Pause the game.
- Press
Insertto detach and activate the camera movement - Frame, take your shot and go the other way around to get back in game.