For shots that include motion blur, PC virtual photography gives us the opportunity to experiment not only with the internal photo mode and game options available but also with third party tools: both free and paid ones. While it would be nice to have a single solution for this, the nature of game development makes that totally impossible. So, let’s see some of the solutions that are available.
Absolutely Required at 100%
Reshade 6.x with reallongtimeexposure.fx
Tools and processes
UUU 4.x/5.x for Unreal Engine 4/5
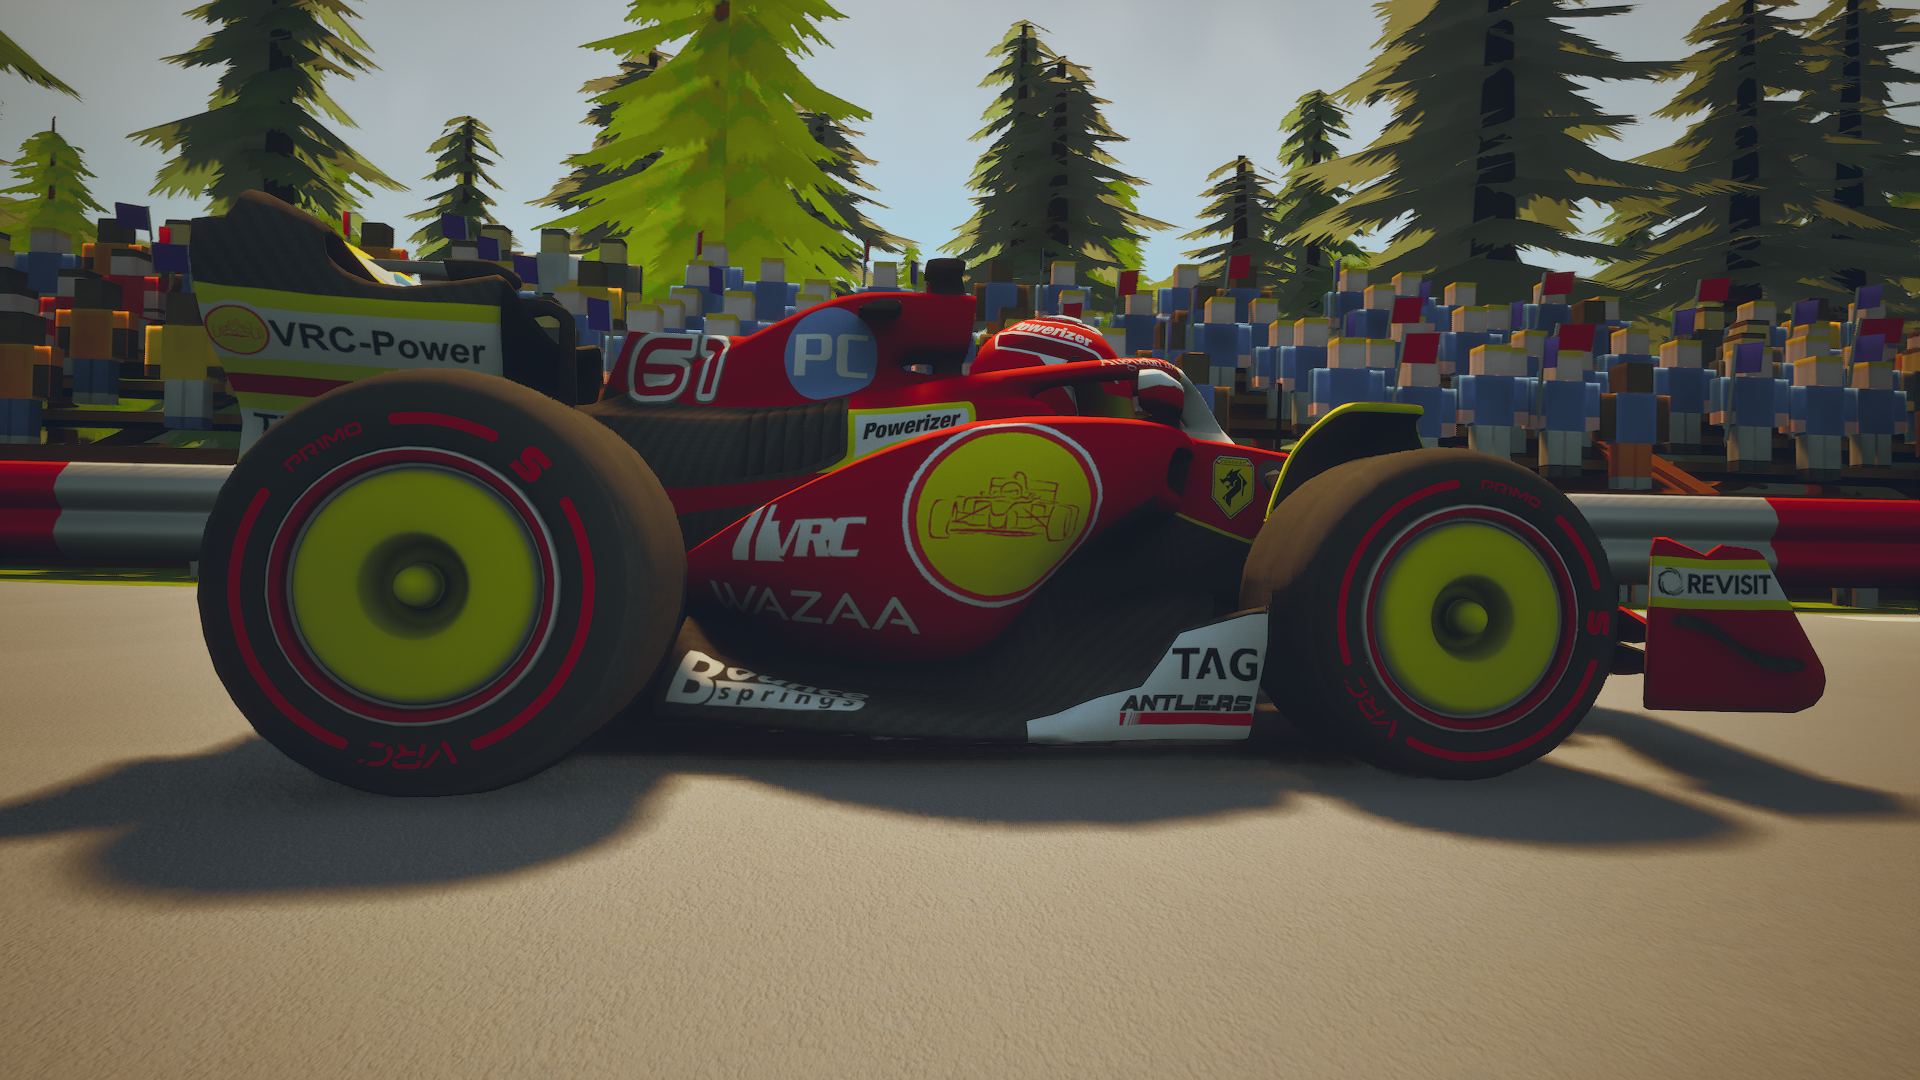
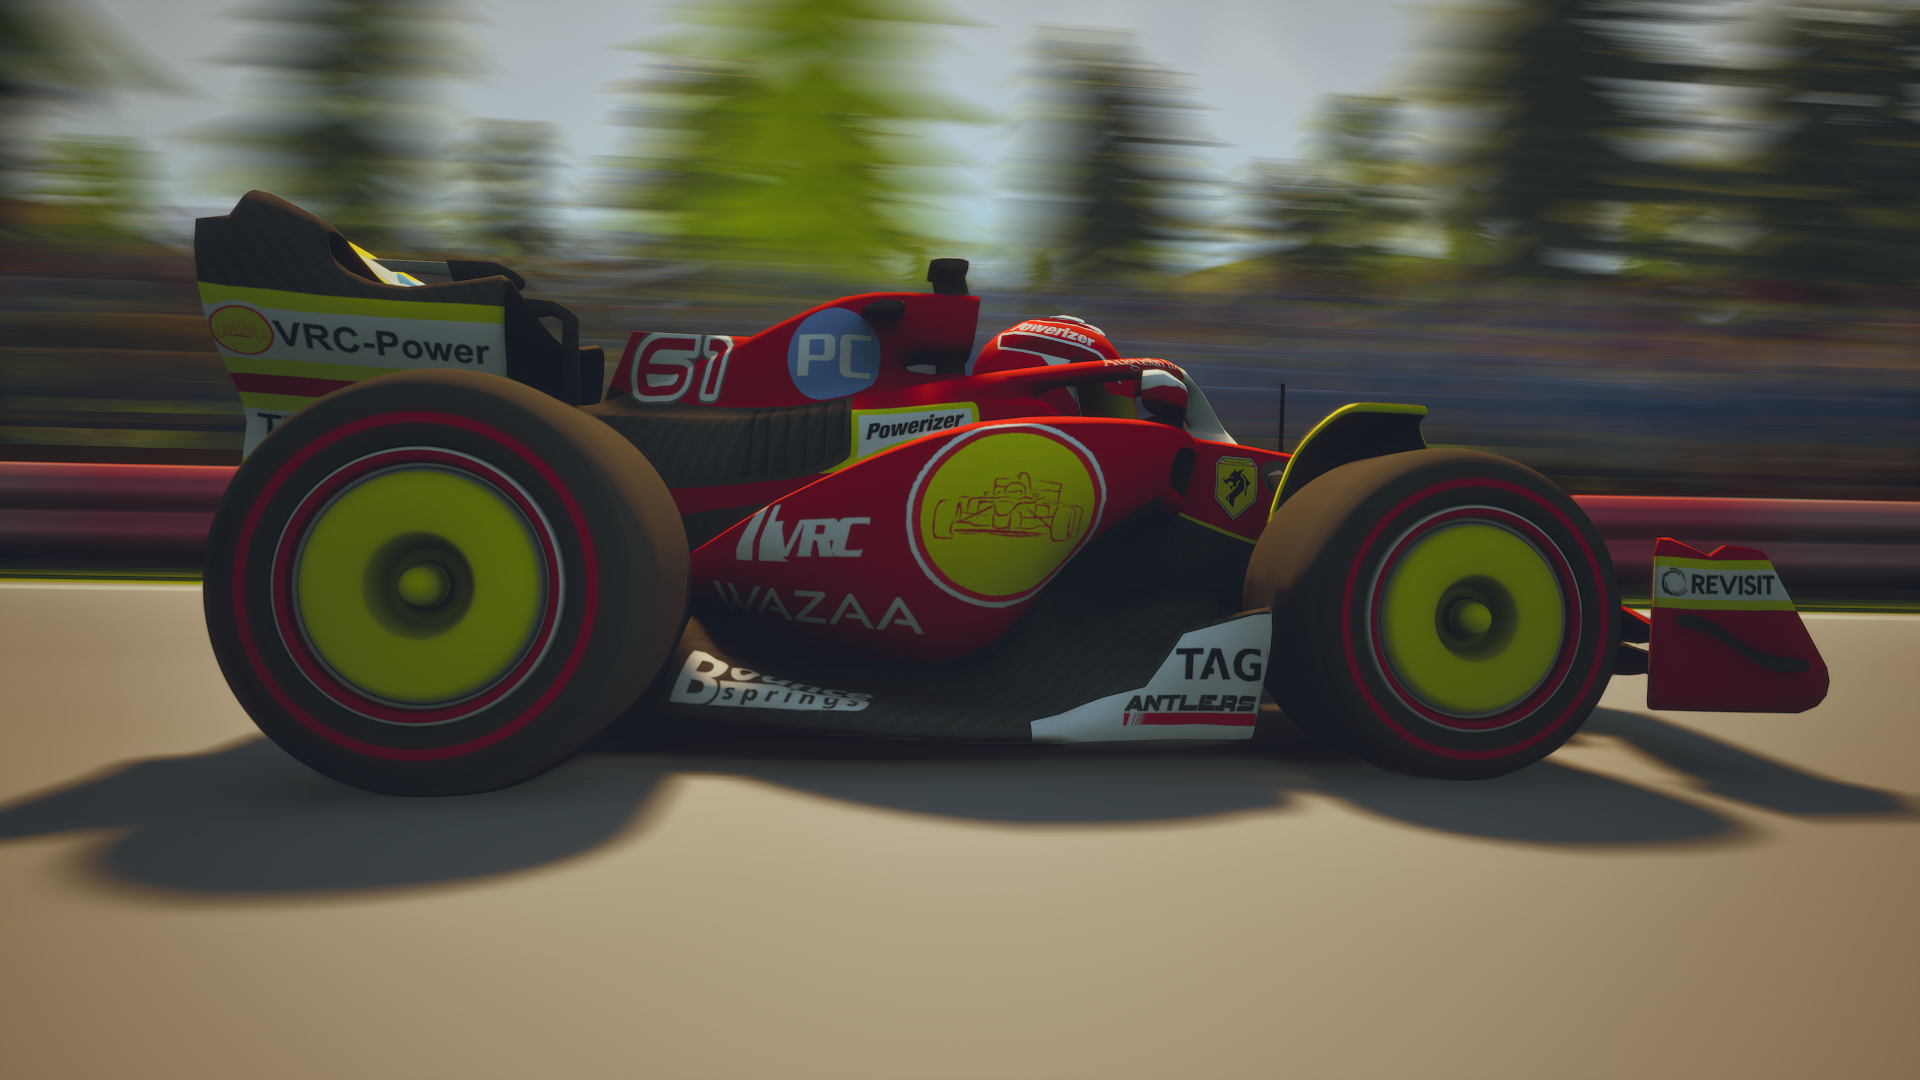
Let’s take Formula Legends as an example. The game is yet to be released at the time of writing this guide, so I have used the demo. The game is build on Unreal Engine 5, so you will use UUU 5.x here.
How to
- While in game and UUU 5.x loaded. Press
Page DownorNumPad 0to pause the game when driving. - Press
DeletethenInsertto hide the HUD and enable the free camera. - Frame your shot (FOV, angle, etc).
- Go to UUU Client and enable the
Camera Pathwindow. - Check the print screen below and do exactly as is. You will need 1 camera path and 2 nodes. These nodes need to be at the sample place. So click twice on
+. Set the gamespeed to 0.05 or lower. - Press F7 or
Playto start. The camera will then follow the vehicle. - Press the assigned key to start the long exposure.
- Take your shot and press back the long exposure key to stop it.
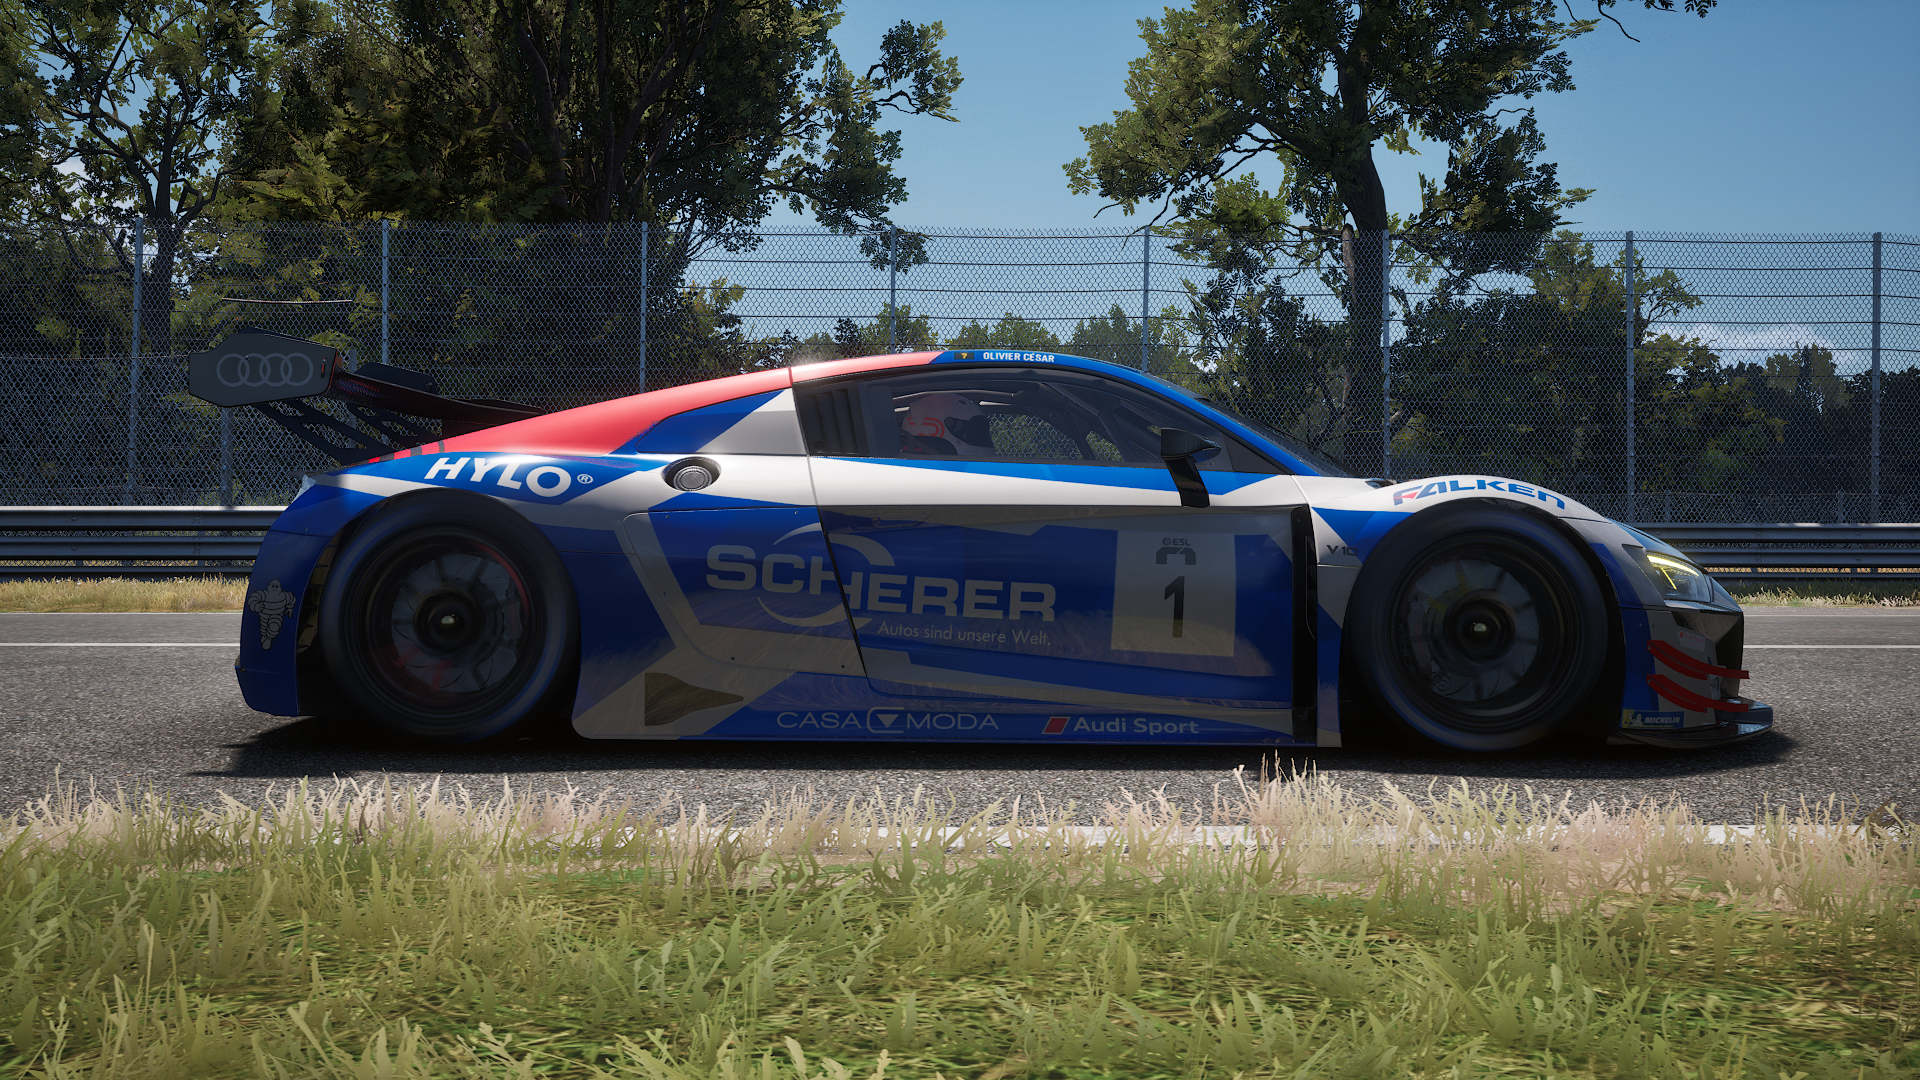
Formula Legends (Unreal Engine 5)
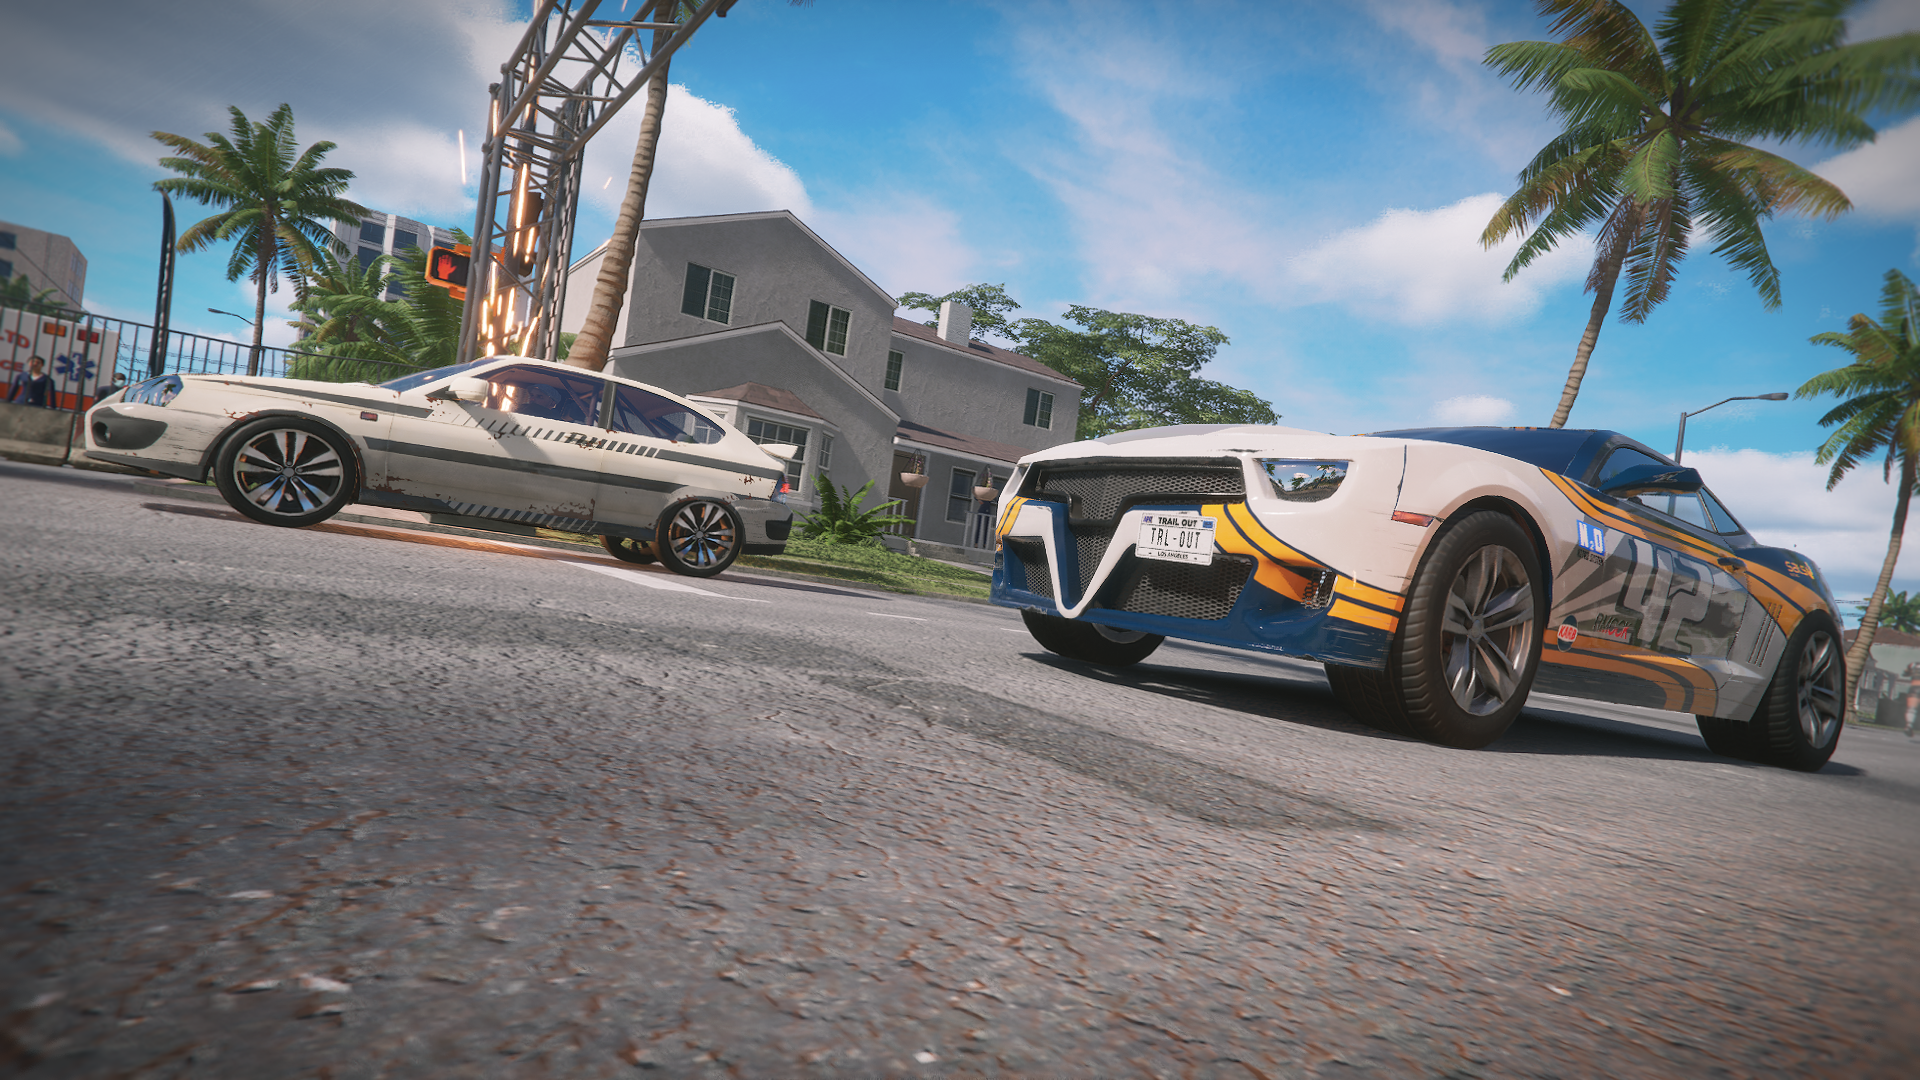
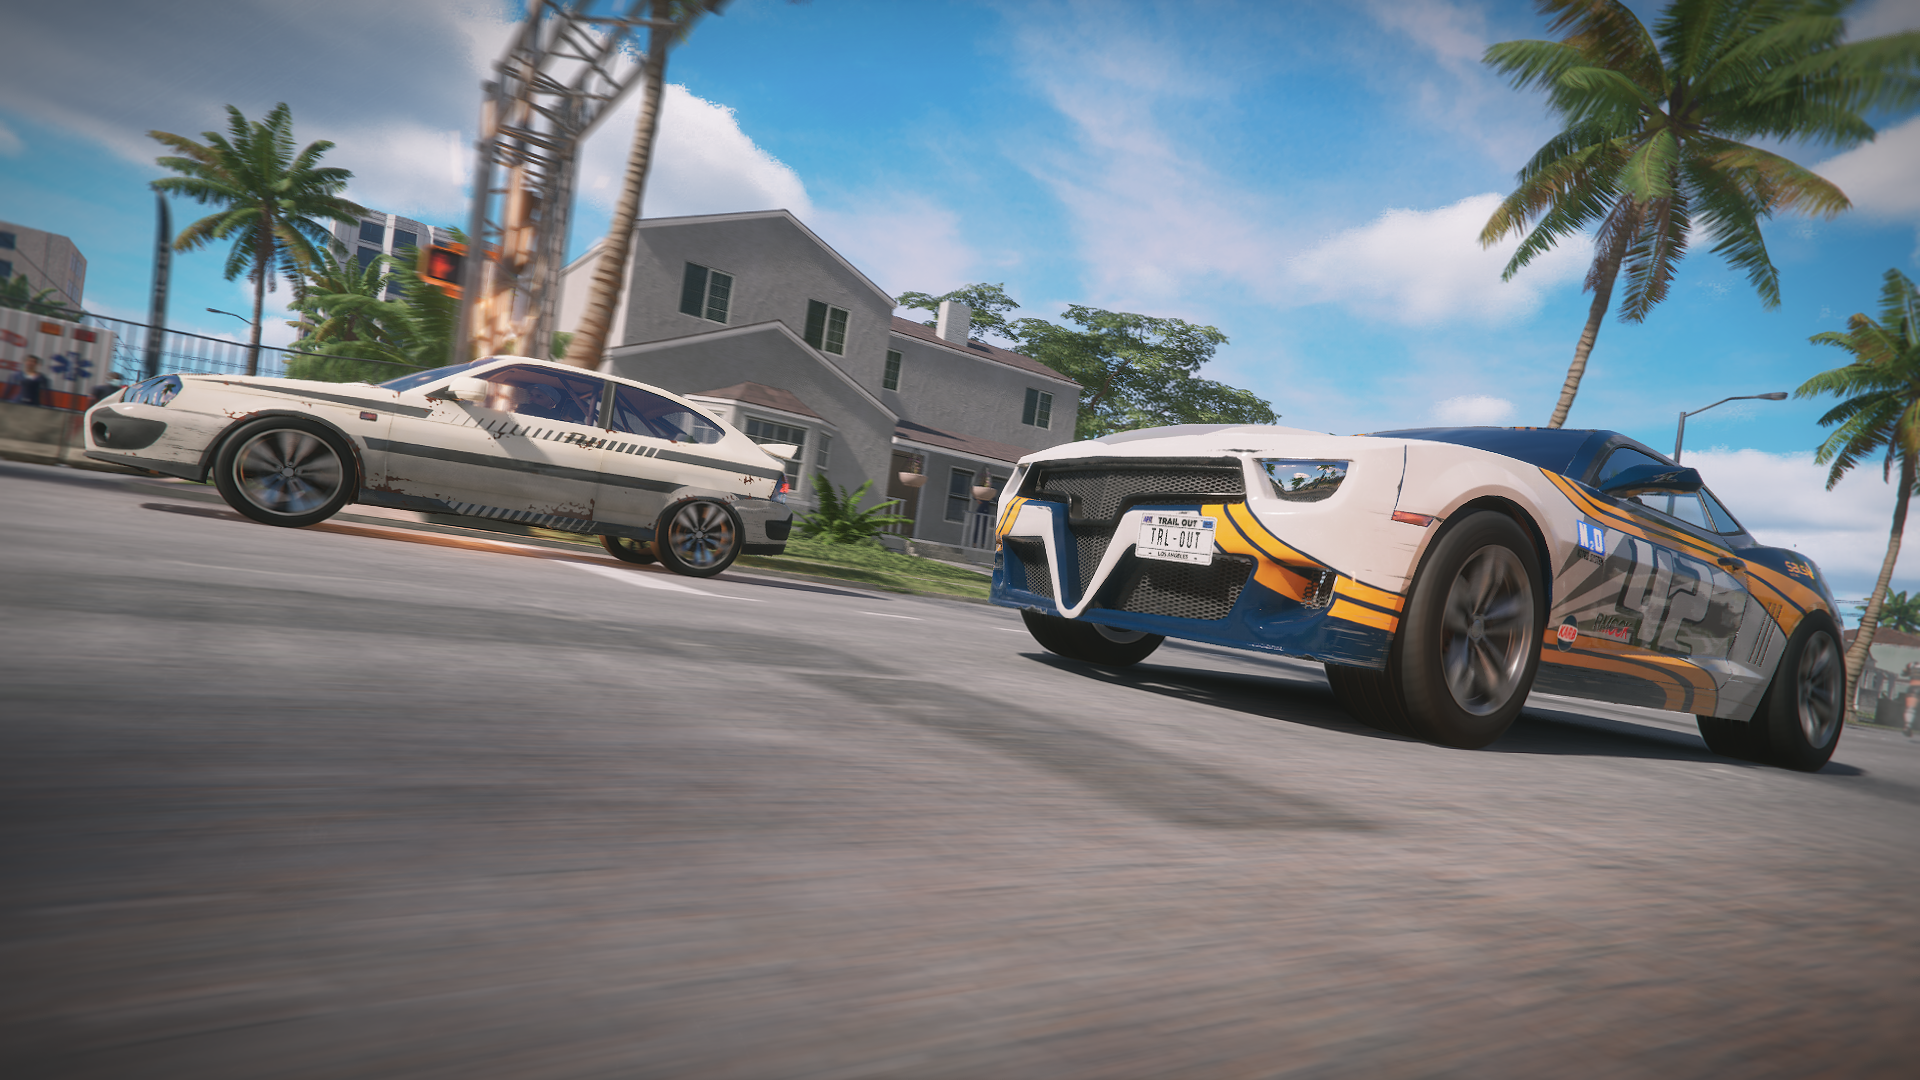
Trail Out (Unreal Engine 4)
Rennsport (Unreal Engine 5)

Cheat Engine A.K.A. The Frame Generator
In some cases, you can use Cheat Engine as a second slow motion to create motion blured shots. The goal will be then to use the Speed Hack feature.
You will need to configure two keys. One for the slow motion and one for the normal speed. For this, go to Edit, Settings then Hotkeys. Configure your keys.
One should be at 1.000 and the other at by example 0.100 or even lower.
How To
- While in game and ready to take a motion blur shot, start the slow motion.
- When the game is running in slow motion, press the assigned key for your second slow motion.
- When you are done taking your shot, press the second key to get back to the first slow motion (in game one).
In a lot of cases, and depending on the resolution and hardware, you will be able to reach 1K+ Fps. This will allow you to get even smoother shots.
Example here for WATCH_DOGS at 4K.
Game Specific Tools.
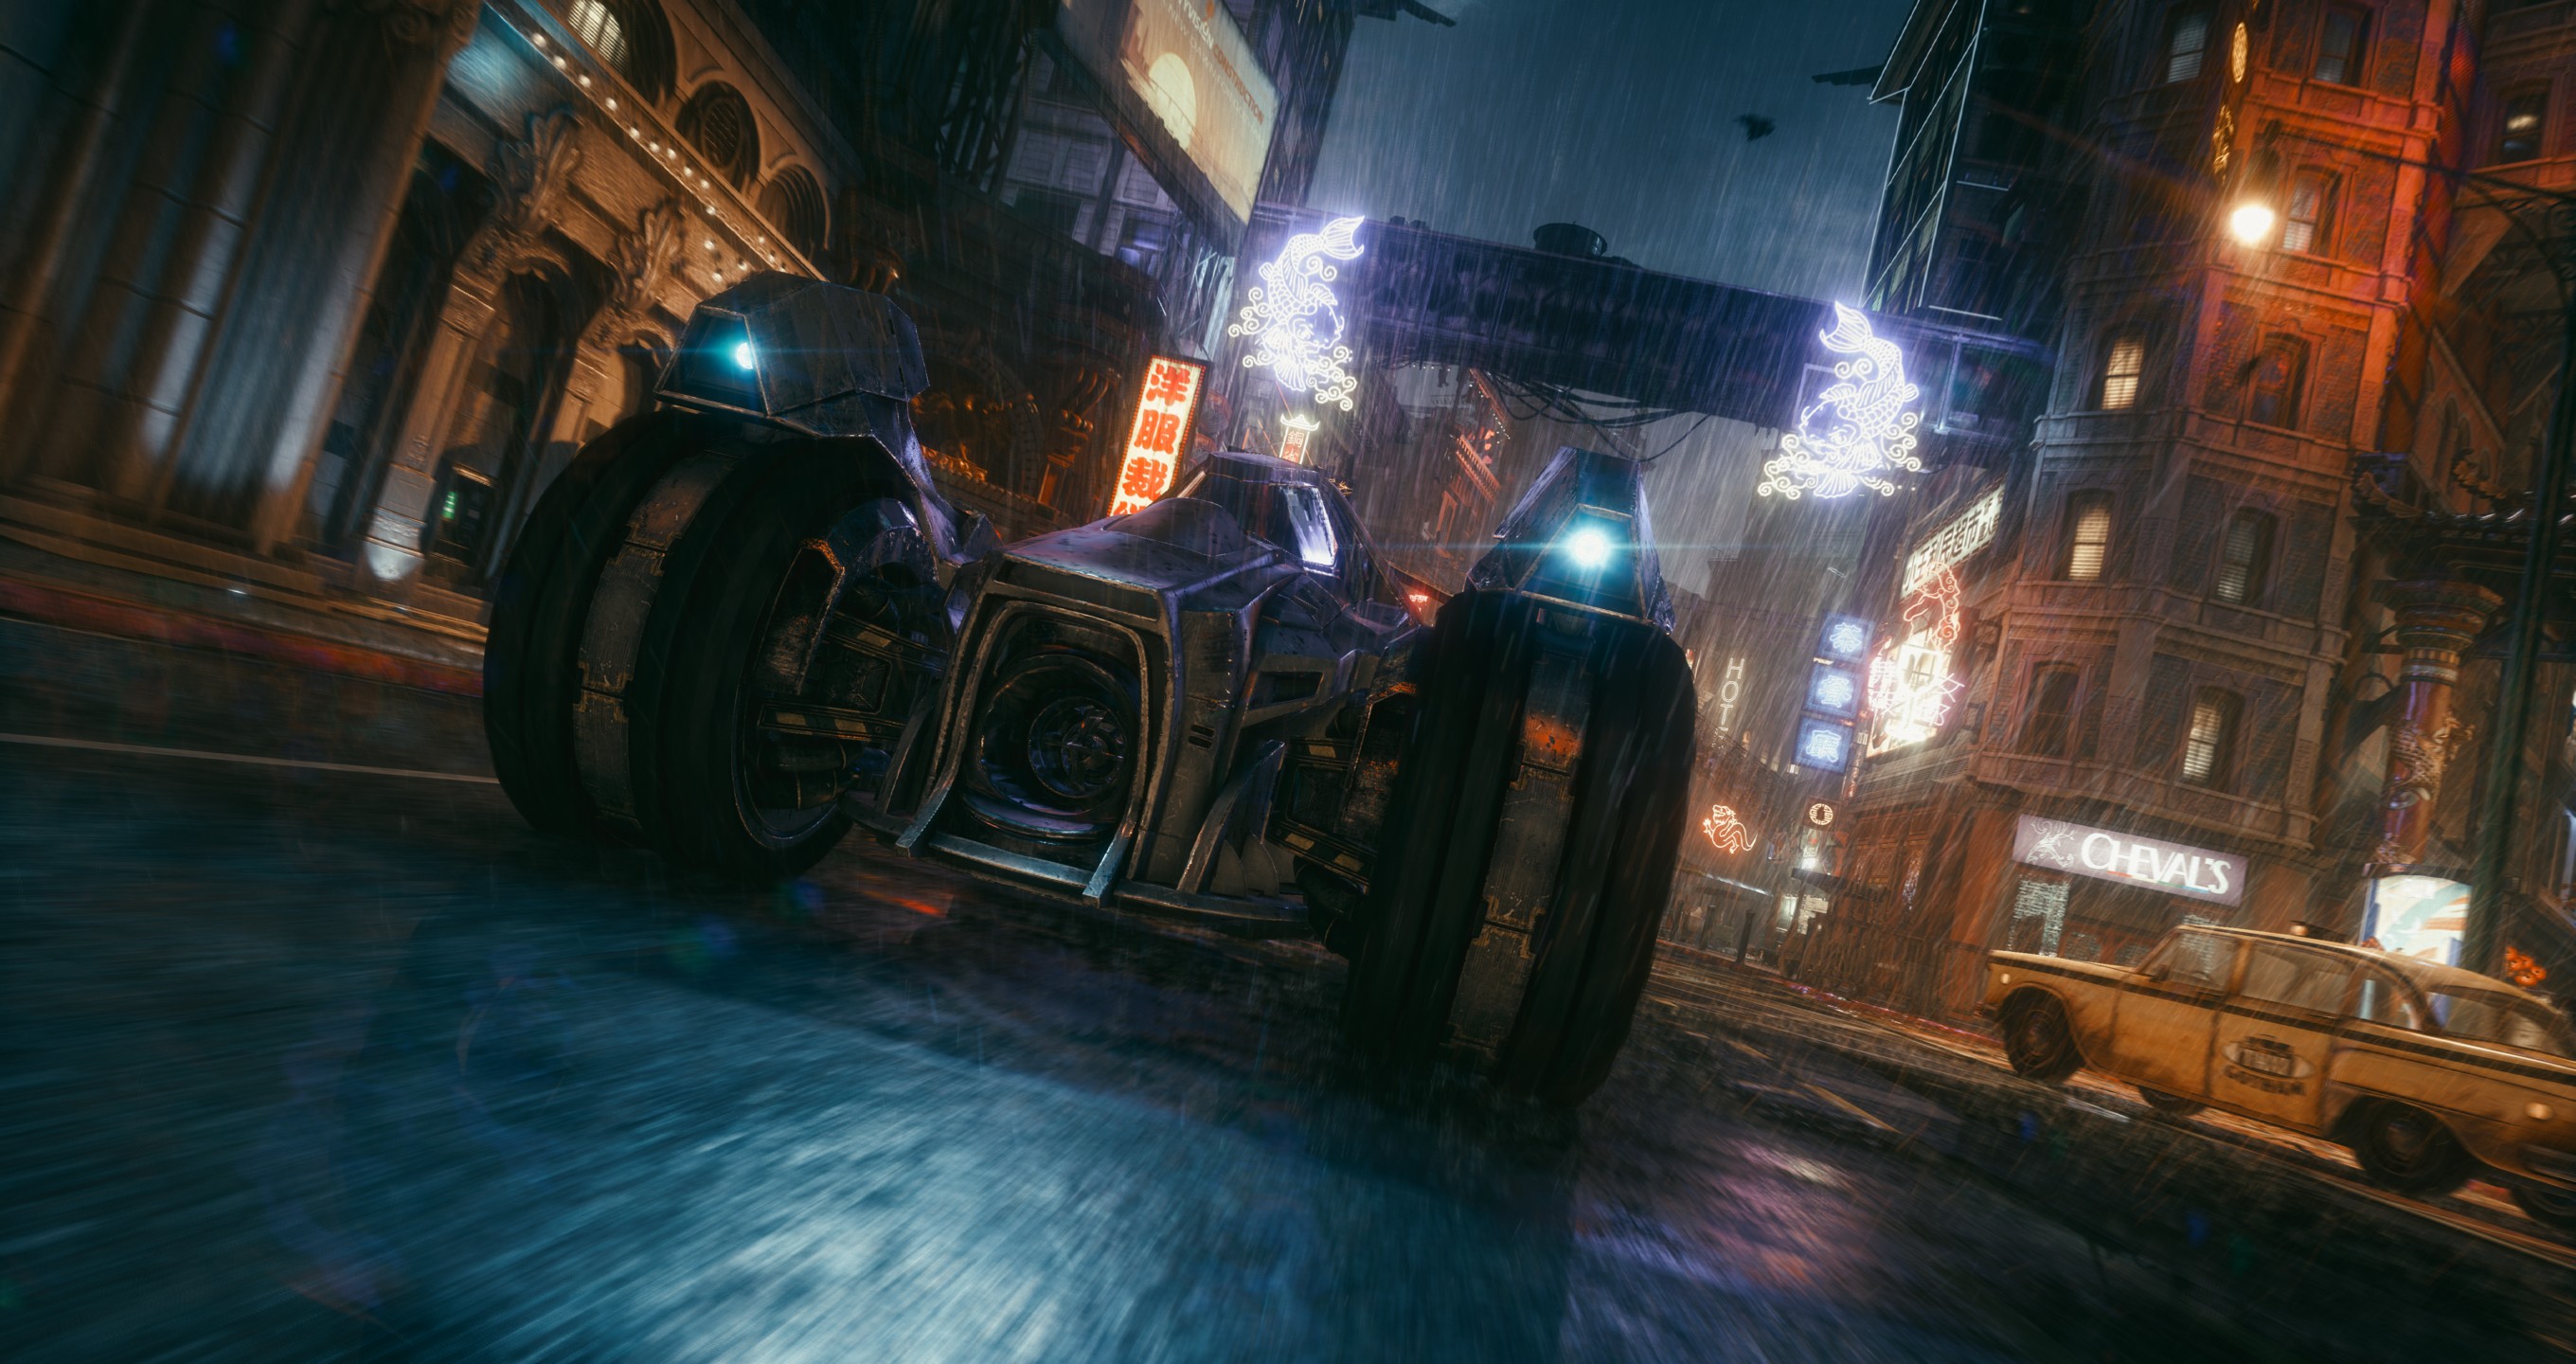
Batman: Arkham Knight
- In console, paste that command
set BmGame.RVehicleBatmobileBase ForceHeadlightsSwitchedOn 1!!!IMPORTANT!!!
If you do not enter that command, the batmobile lights will be turned off as soon as you start the motion blur. - Enter debug camera by pressing
backspace - Frame your shot and enter orbital mode by pressing the right stick. !!!IMPORTANT!!!
- In console type
slomo 0.05. Lower values won’t work. The car won’t move at all. - In console type
playersonly. - Press your assigned key to start the motion blur.
- Press your assigned key to take your shot.
- In console disable the slomo by typing
slomo 1. !!!IMPORTANT!!! If you do not disable the slomo, the game will still run at 0.05 when you come back to it - Press
Backspaceto disable the debug camera.
WATCH_DOGS
- Press F5 to pause the game and F4 to hide the HUD.
- Activate the camera by pressing Home then Insert to show the UCT GUI.
- Change the mode to Look At Player. The camera will be positioned attached to the back of the vehicule.
- Press Static Angles.
- Change the angles to your preferences in the Ideal Position Offset. First box is for horizontal axis, second is the depth, and third for the vertical axis.
- Change the angles to your preferences in the Ideal Angle Offset. First box is for tilt, second is roll, and third pan.
- Start the game back but in slow motion by pressing F6.
- Press your assigned shortcut to start the long exposure.
- Press Print Screen to save your shot.
- Press your long exposure shortcut, disable the camera and press F6 to return the game to normal speed.
Cyberpunk 2077
Required: Otis_inf Cyberpunk 2077 Camera Tools
As the tool is from Otis_inf and his tools are using a standard interface, the process is the same as for UUU4.x/5.x.
- While in game and the tool loaded, press
NumPad 0to pause the game when driving. - Press
DeletethenInsertto hide the HUD and enable the free camera. - Frame your shot (FOV, angle, etc).
- Go to UUU Client and enable the
Camera Pathwindow. - The Camera Path Control settings should be the same as those shown in the UUU 4.x/5.x for Unreal Engine 4/5 section above. You will need 1 camera path and 2 nodes. These nodes need to be at the sample place. So click twice on
+. Set the gamespeed to 0.05 or lower. - Press F7 or
Playto start. The camera will then follow the vehicle. - Press the assigned key to start the long exposure.
- Take your shot and press back the long exposure key to stop it.
Mad Max
The built-in Photo Mode has a Video Mode feature that is enabled when two controllers are connected. The second controller is then used to control the in-game camera while the first controller (or KB and Mouse) control the car and Max.
- Go into Photo Mode by pressing left and right stick down, set the filter, position the camera where you want it anchored.
- Go into Video Mode by pressing Y then Begin Session by pressing A.
- As soon as you are in Video Capture Mode press A on the second controller to anchor the camera in it’s current position. The camera will follow the car or Max. And you still can move it around to reframe if needed.
- Press d-pad up to enter slow motion mode.
- Press your assigned long exposure key.
- Take your shot and press back the long exposure key to stop it.
In my next guide, I will cover some of the NFS games as they all don’t have standard tools. To Be Continued.